
If you haven’t before, you should spend a morning walking around your living room in your underwear. Put on some Bob Marley, grab a cup of coffee, and your favorite pair of underthings and go for it. Lounge like you’ve never lounged before; it’s good for the soul. Stroll, strut, stretch out, smile. And so, what would you reach for from your special drawer for such an occasion? For the best experience, I recommend something fun and comfortable. Would you grab some tap pants, basic briefs, cheeky bottoms, or a thong?
What’s frustrating, is that I’m a male-person with male-parts, and “fun and comfortable” is very limited in the RTW (ready-to-wear, i.e., store bought) market for men. But hey, I want to lounge around too, and be fun and comfortable. It’s my opinion that the fashion norm presented for men is boring. Underwear and loungewear consists of your standard brief or boxer (or the brief-boxer . . . and well that’s an exciting combination [sarcasm]), or baggy pajama pants. Let’s also not forget other related clothes categories like swimwear and leggings. Why is the norm that male-folks are often expected to wear swim shorts and joggers but not briefs and leggings?
In an ever increasing society of gender neutral/equality in which I live, it would be nice to have more options and acceptance for those of us with male-parts and associating ourselves as a male-person. I think we’re ready for it, and what not a better place to start with change is with those of us empowered with the ability to make our own clothes and share ideas with an open crowd like The Sewcalists!
In this article, I share a bit of my journey in creating fun and comfortable clothes for lounging (and/or for use as underwear) for myself in the hopes of inspiring others to create and share for yourself or your others. If I can, you can too!
My project today is a simple piece meant to be fun and easy. Sure, you may know how to clip seam allowances and tie-off instead of back stitch, but for this project we’re just going to grab a glass of wine (or beer) and have some fun. We’re going to “upcycle” an old t-shirt (hooray for sustainability) into a pair of lounging thongs… How fun is that?!

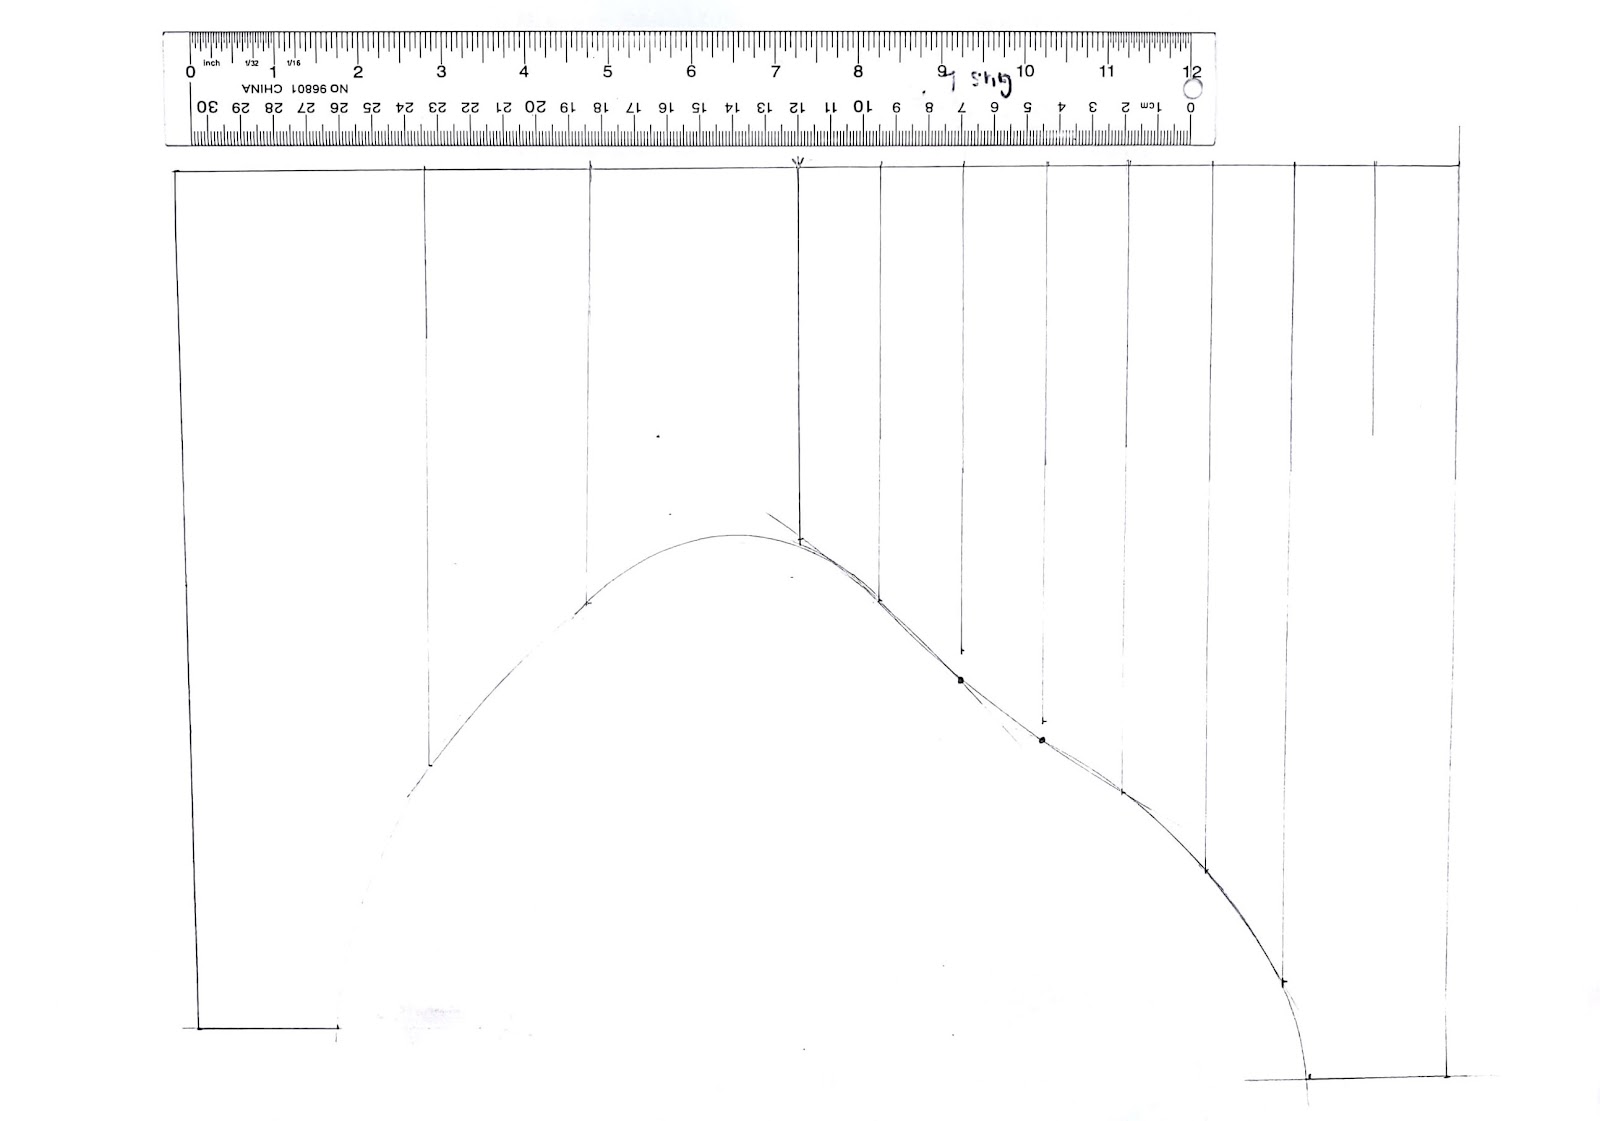
To keep this simple, we’re going to skip the pattern. I’m using a pattern that I’ve drafted myself by copying an old swim brief into a flat pattern and then free-handing the thong pattern from there. You can do the same; surely there’s an old pair of something you have that you can copy? Remember, keep it fun, keep it simple.
So, here we are with the t-shirt as bought from the thrift store (and on sale at that!). The best thing about t-shirts is that you can find all kinds of prints to keep this fun (did I say that this was supposed to be fun?). I recommend that you buy a t-shirt one size larger than what your RTW bottom size is, but you be the judge what size to buy. You’ll want it large enough that you have enough material to work with and that you have some wiggle-room to position your pattern to optimize the position of the graphic. The other benefit of thrift t-shirts is that they’re often already well-loved, soft to the hand, and pre-shrunk. What can be a source of frustration, however, is that the t-shirt can be stretched and skewed which makes laying your pattern straight with the grain difficult. With this challenge you can try to manipulate the knit with an iron, or if you’re having fun already and through that first glass of wine, then forget it and just grab your trusty rotary cutter and go for it!

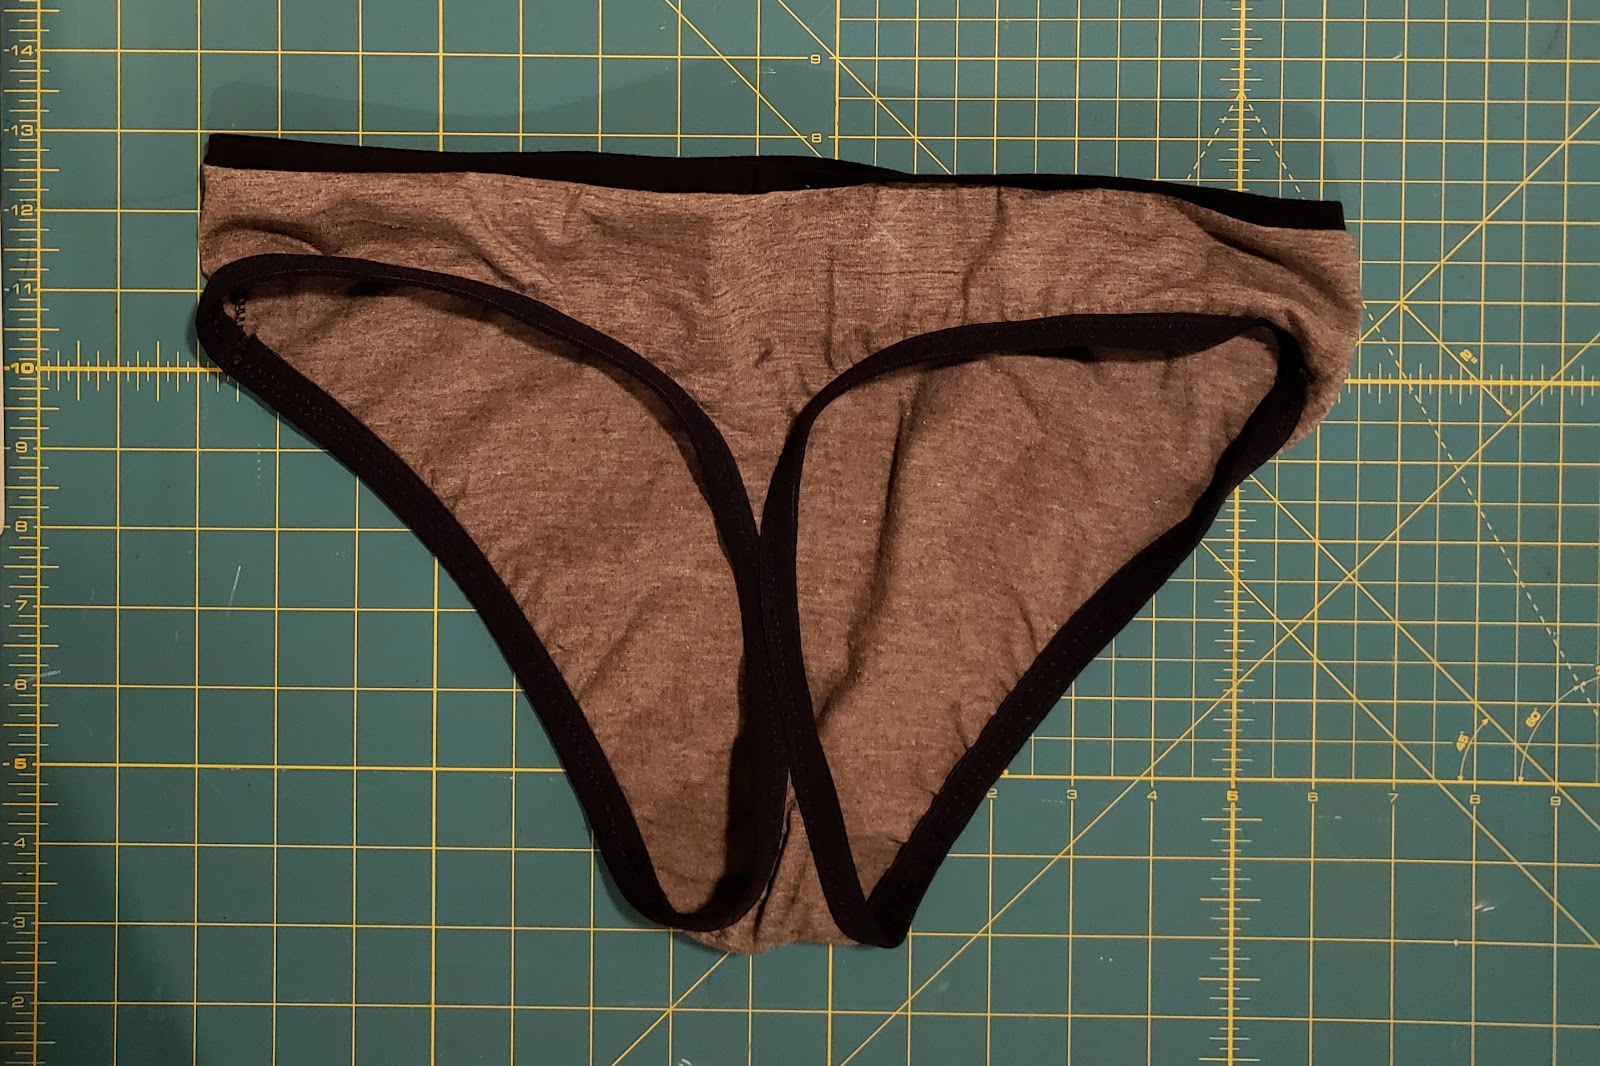
The photos here are of the cut pieces ready for the serger (or sewing machine, with a zig-zag stitch). You’ll see that I’ve not added a gusset to this. You may want to add a gusset yourself if you have female-parts and are being cautious. I find that some heavily printed t-shirts don’t breathe well and so even people with male-parts may appreciate a gusset to help with moisture control. However, let’s keep focused on the goal: loungewear (not necessarily long-term underwear), and keeping the process simple and fun. If you’re interested in adding a gusset then there are lots of good on-line resources on how to do this.

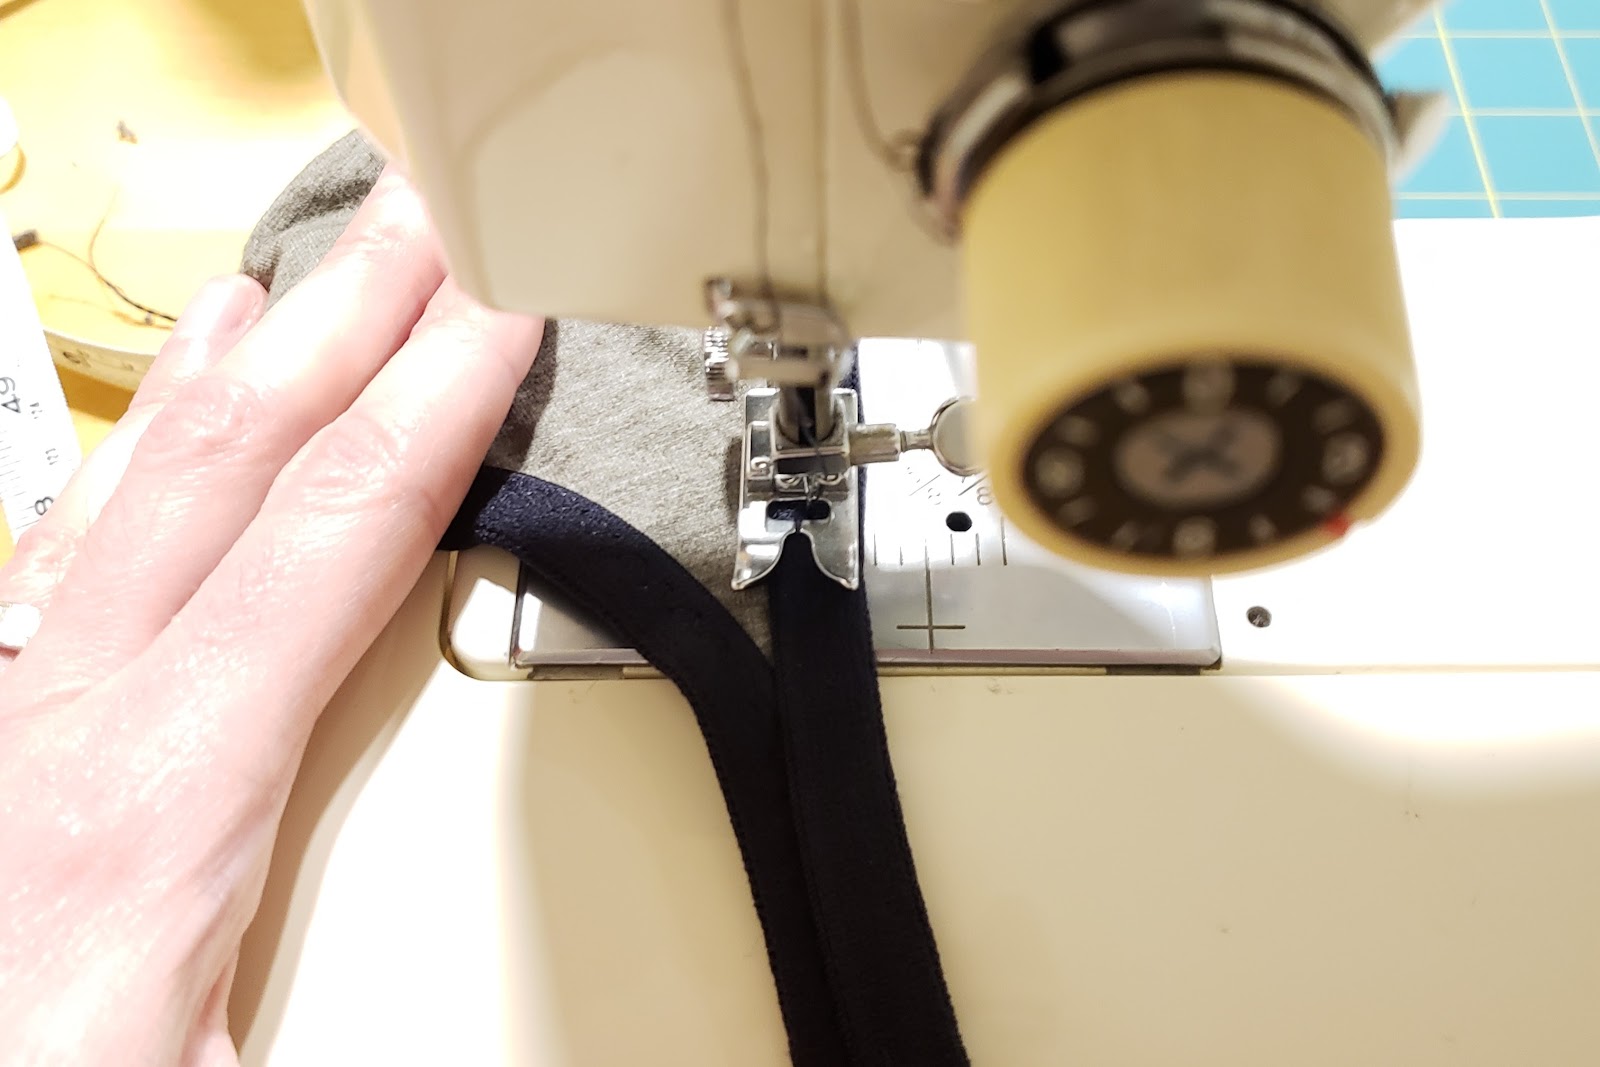
With your front and back joined, all that’s left is to finish the waist and leg openings. For this I’ve explored a few options: banding, FOE (fold over elastic), and enclosed elastic. In our example today, I’ve used banding for the waist and FOE for the legs. I find elastic expensive for these projects given the amount of elastic required, so we’re going to use use upcycled thrift store leggings (also on sale) instead of retail elastic.

The challenge I find is to determine the length of elastic you need for your opening, in our case the waist and the legs, as each type of elastic has a different amount of stretch. As an engineer I’ve been wanting to find a scientific solution to this, like using the formula F=kx, but by now I’m finishing my glass of wine and decide to push on! What I’ve come to terms with is that you really just need to “feel” your way to setting the right amount of elastic. It’s nerve wracking, yes, but possible.

The primary thing you need to remember when determining your elastic length is that the elastic needs to be the same or SMALLER than the waist/leg opening yet still comfortable and not too tight. Pin the elastic to the opening, stretch slightly (or greatly if you’re using low-stretch elastic), pin, stretch again, pin again, continuing all the way around until you get back to where you started. Increase the amount of stretch in areas where you want some extra cupping like male-parts or booties!
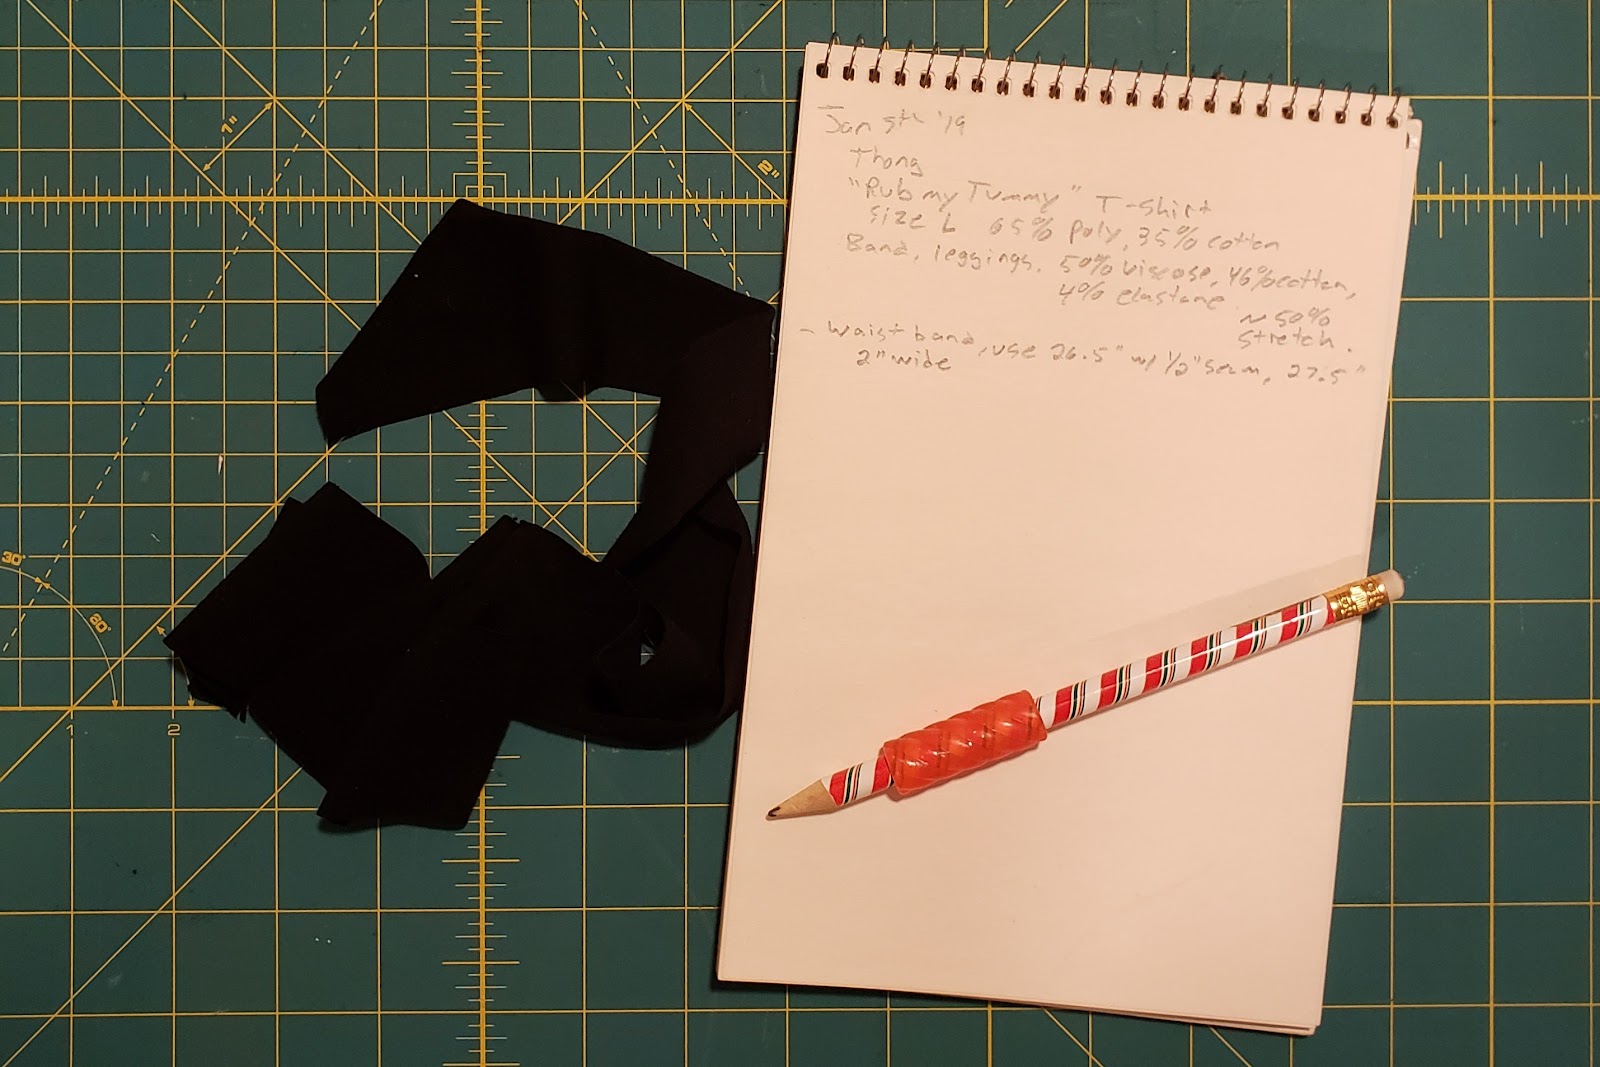
Here’s where we need to talk about note-taking. If you haven’t before then I strongly recommend that you keep a notebook with you while working through your sewing projects. Write EVERYTHING down: fabric composition, stitch length, tension, length of elastic used, how many needs you broke, and which wine you should buy for your next project. Your next project will go so much better if you have these notes to reference.
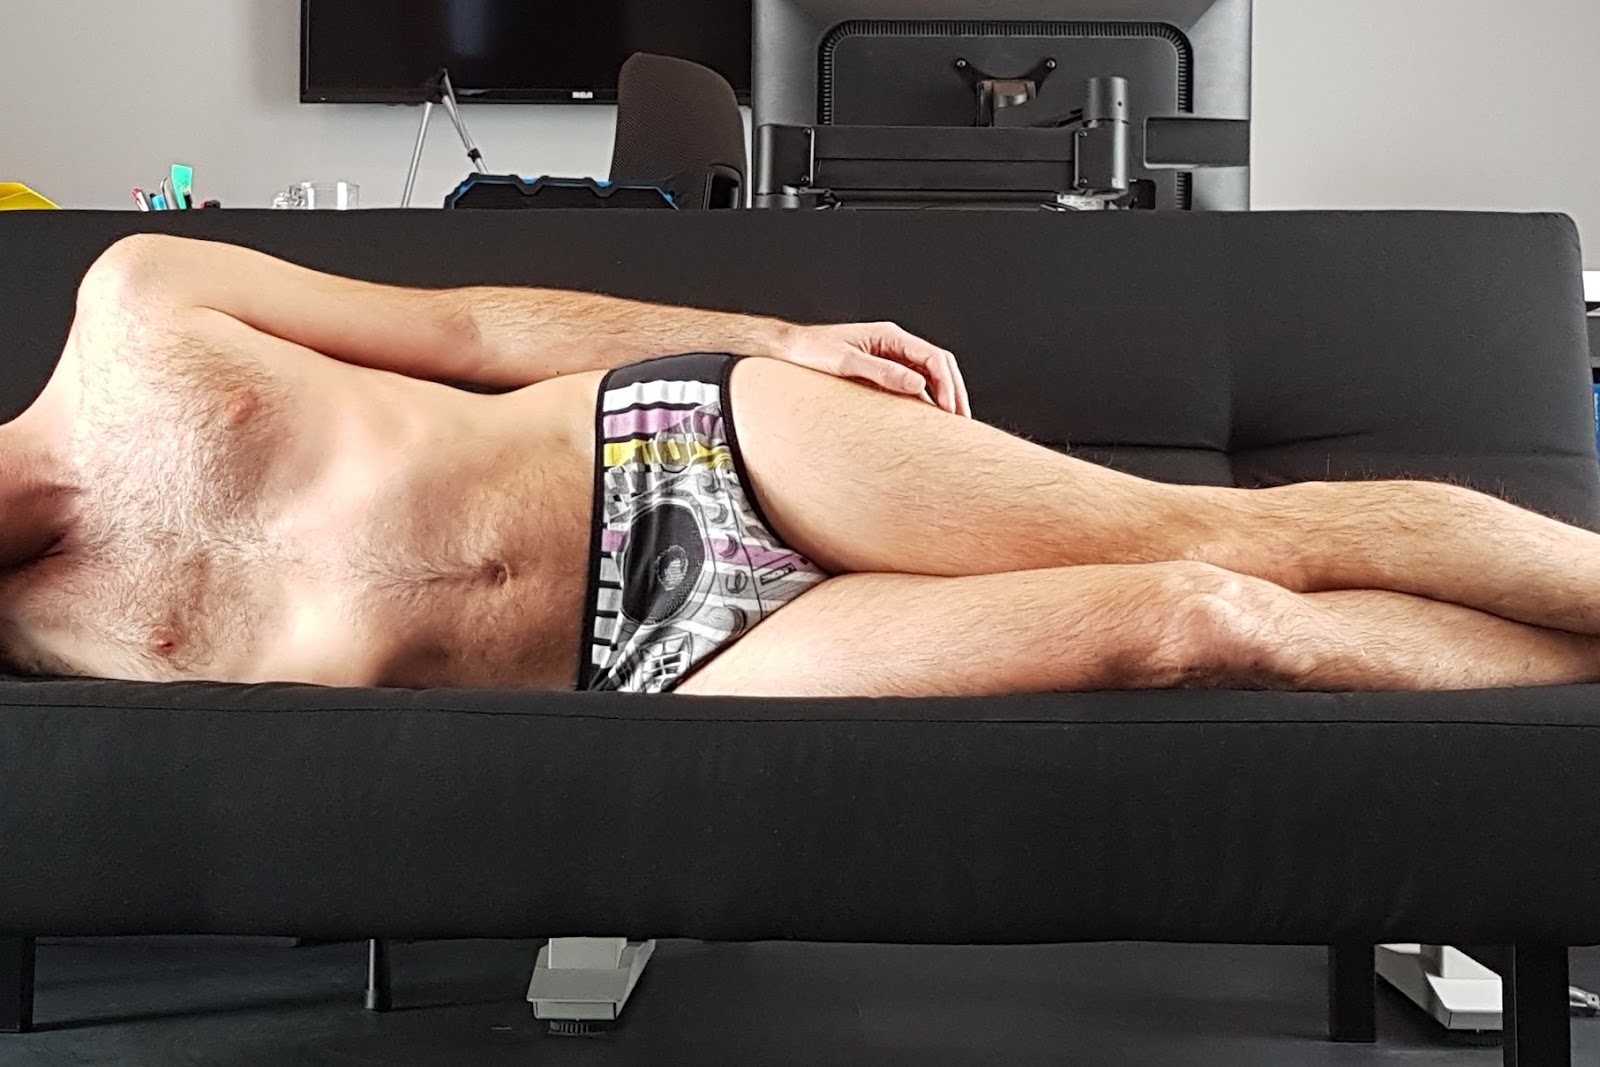
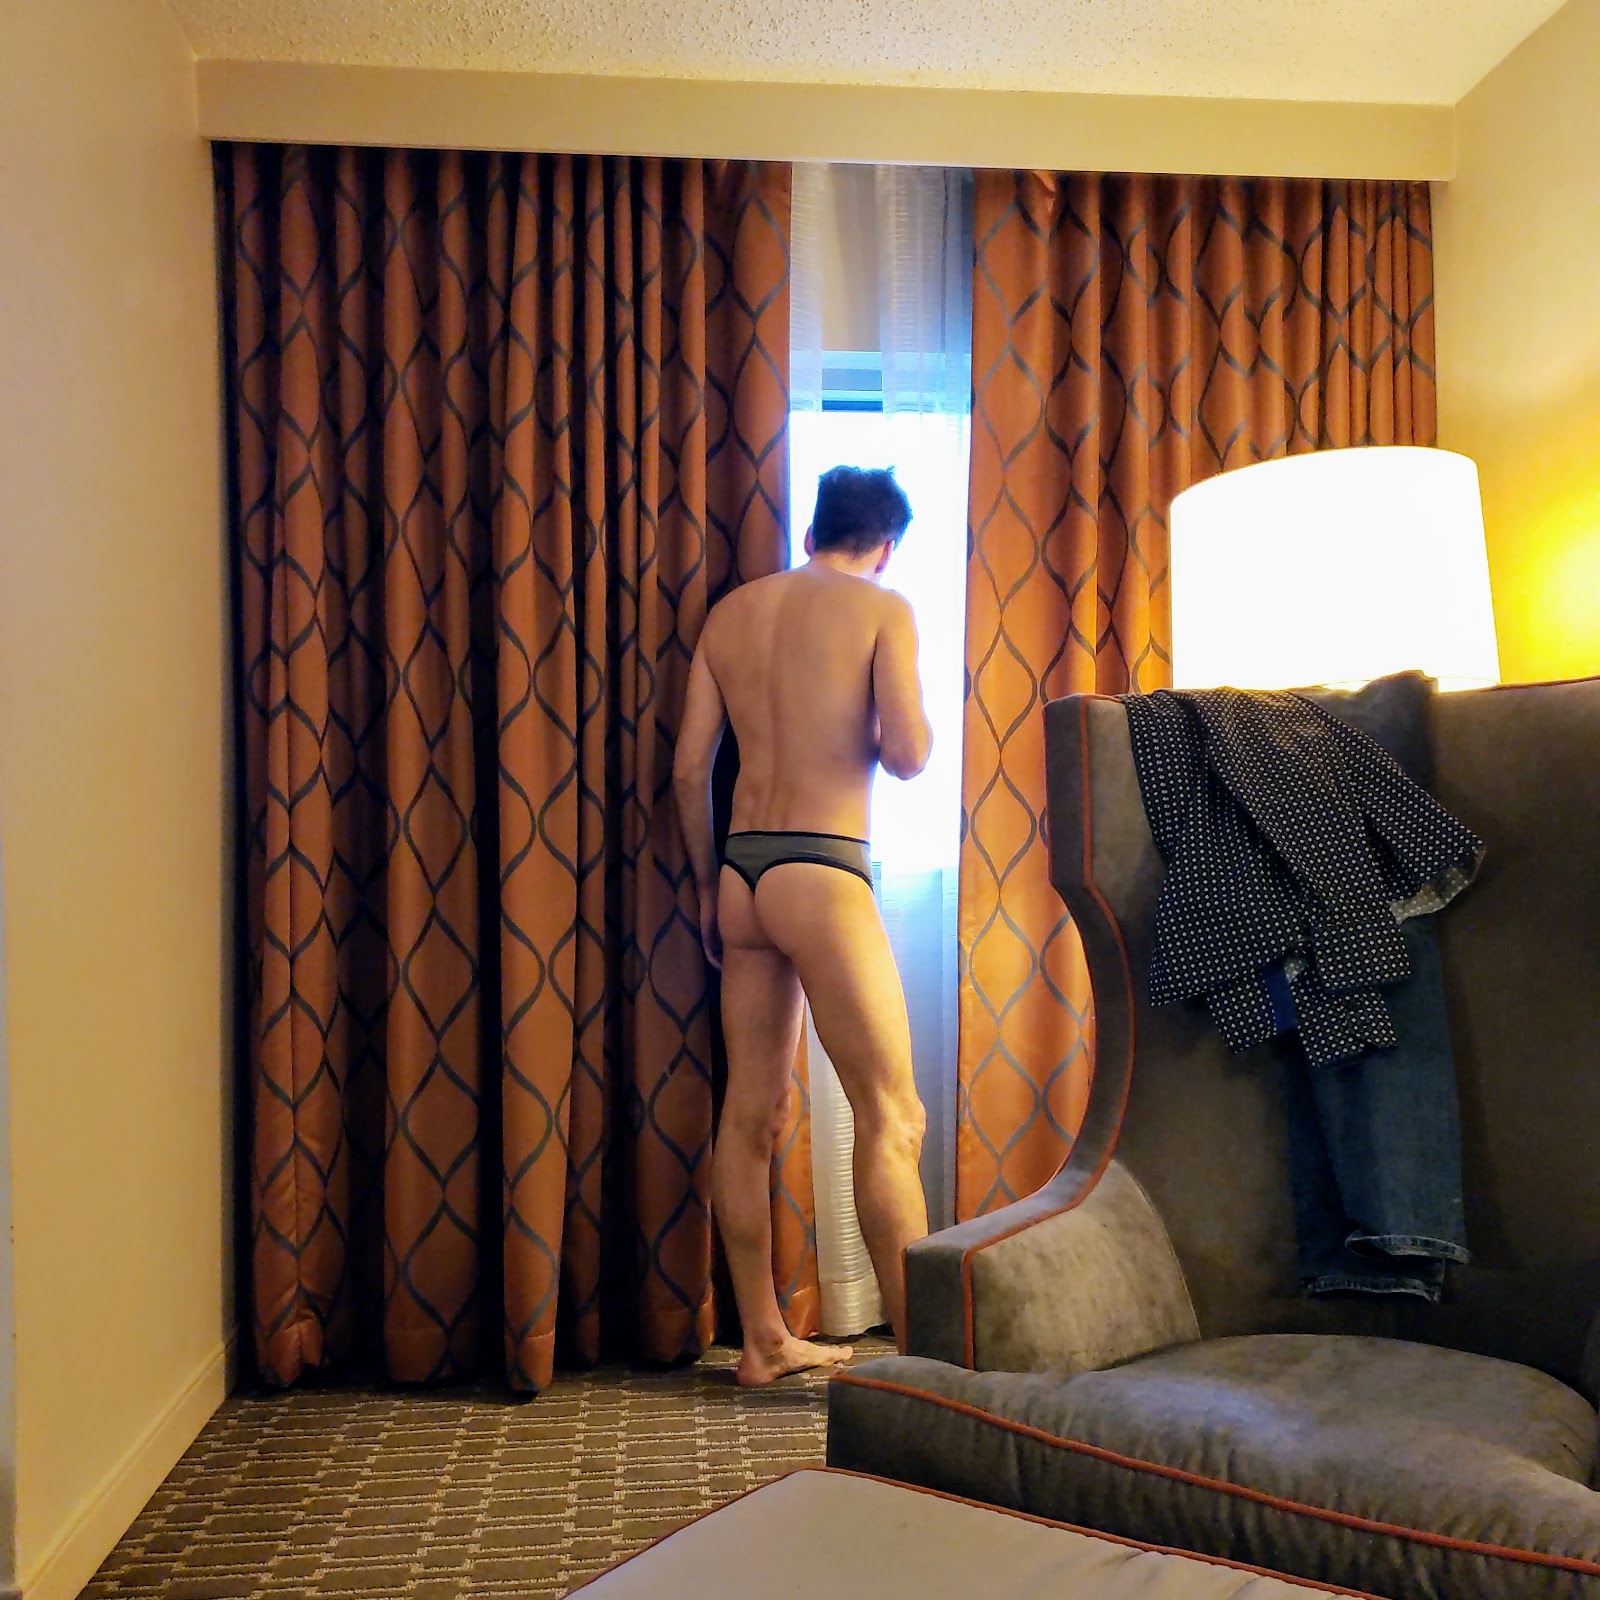
Well, here we are at the finished project. For good luck, rub my tummy! 😉

I’m hoping by now you’re throwing caution and inhibitions aside and are ready for some fun… and lounging! Here I am, lounging at the hotel, coffee in hand, passing some time before catching the noon flight home. Fun and comfortable, living life good…

The Sewcialists is a hyper-inclusive editorial site. We recognize that “Menswear” as we use it in our theme month is a very loaded term, and we use any gendered reference in these discussions to denote the most broadly accepted “traditional” categories only, without wishing to prescribe or proscribe what any person can wear. We recognize all gender identities and the choice to dress how one pleases.
Editor’s Note February 3rd, 2019: We altered some original images from the post with the author’s permission.
“Deconstruction,” husband and father of two boys, works as an engineer. He discovered sewing when he was really young, growing up doing crafts with his mother. He find that the precision of his engineering background, and the creativity of doing crafts all his life, are a great mix to be a sewist. For more fun, check out Instagram.
Your post was a great read to start my day! It’s full of fun, great technical information, and wine! Great combination, thank you!
You’re welcome, and thank you for the kind words. Your summary was right on the mark!
I love these! Great post
Thanks!
Well, that was fun. I know what my sweetie is getting for his birthday this month…
Lucky hubby! Or not… lol (Depending on how adventurous he’s feeling!)
This is the most fun I’ve had reading a blog post in a long time….and not just because of the ass-shots. This gem: “…or the brief-boxer . . . and well that’s an exciting combination [sarcasm].” This is so refreshing. I’m all for less prude and more nude. Ok, maybe not quite that far….that would sort of negate sewing and I certainly can’t give that up….but def less prude. Cheers man, cheers.
Thanks for the positive comments. Glad you enjoyed the humourous sarcasm (and “ass shots”)!😉
Is anyone old enough to remember the Burt Reynolds centerfold? Now old Burt has a successor. This post brightened up my morning.
Too young to remember the centrefold, but not too you to remember Burt 🙂
Glad to have made your day. My wife said “We’ll, I guess we’ll just have to start calling you Bert!”
Sew well done!
Thanks!
I’ve always said there should be more eye candy when sewing…or was that wine? Why not both?
Yes, candy and wine can go together nicely! 👍
So the crafting community at large throws a fit because some sheltered twit compares a trip to India with an expedition to Mars, but this guy can wear a racist caricature of the Buddha on his junk and everything is cool? Good to know.
Thank you for your feedback – we’ve altered the original images and republished the post!
Just wanted to share my 2 cents worth as follows based on my personal experience when upcycling a finished piece of clothing or in my words harvesting fabric/textiles into a new sewing project (whether you are planning to sew an item of clothing, a household item or even an item for your pet) – I always look for the largest size possible in order to have more options (or extra fabric) for the pattern layout or leftover fabric for another project. For example: if I was looking to recycle a T-shirt into a pair of underwear (for men, women or even kids) I would look at the largest size T-shirts in the thrift store. Number 1 – regardless of size – generally speaking all the T-shirts are the same price and in many instances you could probably manage to make several pair of underwear out of largest T-shirt available at the thrift store. I also would suggest checking the fiber content on the T-shirt and its overall condition before buying a T-shirt from a thrift store.
BTW – great idea for using leggings with stretch for the waistband. I have found it extremely difficult to find decent waistband elastic for both male and female underwear – or whatever term suits your fancy. In my life – the term “underwear” covers all the options. I mean doesn’t everyone have socks and underwear drawers? I know my spouse does – cuz I have never heard him refer to his underwear as anything else although he wears both bowers, briefs, etc. In addition, when I have found the nice type of waistband elastic (plush back 1-1/2 inch elastic) it was extremely expensive per yard along with shipping and handling costs and as a result I have never used this product.
For future reference there is actually a formula for the amount of elastic/binding to use on the waistband and leg openings when sewing underwear. Off the top of my head I can’t remember the formula but its something like 80-85% of the finished opening (minus seam allowances) – depending on the amount of stretch in the elastic or binding you are planning to use. To measure the opening – use a flexible measuring tape to measure the opening (stand the measuring tape on its edge to measure around the curves of the leg openings and waistband areas) and then use 80-85% of the measurement to determine the length of elastic or binding you need. I would also suggest basting in the elastic/binding and trying the item on prior to sewing it – cuz ripping it out won’t be fun. BTW – there must be a video on measuring and calculating elastic/binding for waistbands and leg openings on underwear – if not there should be one.
Hope you find the above info helpful.
That’s all, Nancy
Thanks, Nancy, for the detailed reply. I love your term “harvesting”! As for elastic length, I’ve seen the “80% rule” before, but that does not give consistent results if you’re using different elastics which have different recovery (as you mention). A “stiff” elastic pulls more than a “loose” elastic. There’s a math model for that, f=kx, which sounds like should be my next blog post! Thanks again for your comments.
Thank you for stressing that sewing is fun! And wearing what we make is fun! Excellent reminder that getting it done does not need to stress us out, just give it a go. Great post.
Thank you .